Perhaps you have heard of the Bee-Bot or the Blue-Bot, which are both classroom robotics solutions from Terrapin. Unlike many other educational robots due to their size, shape, and real value in early education, these STEM tools continue to help teachers introduce coding and technology concepts in the early grades. Once students have some comfort with programming, however, they're often excited to try something a bit tougher. And, that's perfect because one option when it comes to robotics for elementary students is the Tuff-Bot—also from Terrapin. This slightly more complex robotics tool helps students explore coding using an all-terrain robot—in almost any environment—and as early as third grade.
Basic features of the Tuff-Bot.
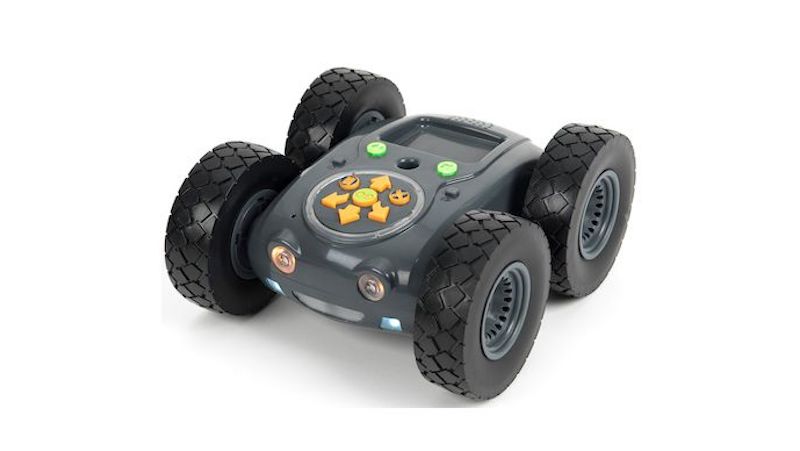
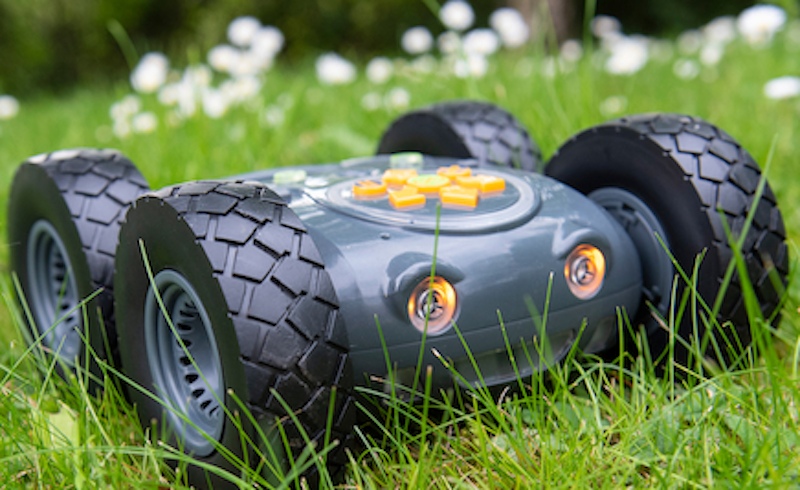
In terms of both programming and power, the Tuff-Bot sits among the most capable educational robots. It has four oversized wheels with high-quality treads that allow it to traverse a variety of indoor and outdoor surfaces. Another key differentiator between the Tuff-Bot and Bee-Bot or Blue-Bot is that students can add increased precision to programs. The Tuff-Bot also features four on-board directional buttons for designing programs but these now include the option for 45-degree turns. So, once they've mastered designing Bee-Bot or Blue-Bot programs with the forwards, backwards, and 90-degree turn buttons, students should be nice and comfortable with using the Tuff-Bot.
Currently, among our robots for school use, we offer just the single Tuff-Bot. This includes the robot itself, a USB charger, and a user guide. As for the Tuff-Bot's features, we've already mentioned the four directional buttons on its top side but it has some other important ones, too. It's definitely more capable than the Bee-Bot and Blue-Bot and this is due largely to its built-in sensors. The Tuff-Bot has a light sensor and distance sensor, which students can use in various ways. It also has a built-in speaker, charging socket, and power button on its top side. Plus, its Bluetooth functionality helps make it possible for students to program the Tuff-Bot with the Rugged Robot mobile app.
Coding with the Tuff-Bot Robot.
Also, while the Bee-Bot can only remember a few dozen commands, the Tuff-Bot can remember up to 256 for programs. Creating these programs, however, involves a similar approach to coding with the Bee-Bot. Students can strategically press the directional buttons on the back of the Tuff-Bot to provide it with all the steps. So, depending on the size of their classroom, they can make the Tuff-Bot move froward, backwards, and pause in purposeful ways while incorporating turns strategically as well. Plus, its sensors help the Tuff-bot avoid obstacles and its rugged wheels allow it to travel on different surfaces.

When they first power the Tuff-Bot on, its memory will be cleared. This means pressing the start button will do nothing, so students can start creating new programs once they have powered on their robot. We know they can enter over 200 commands in one program but it's also important for them to understand how the Tuff-Bot responds to each one. With each backwards and forwards command they enter, for example, the Tuff-Bot will travel 20 centimeters in the corresponding direction. This is slightly less than eight inches for each forward and backward command, so students should plan accordingly. It's also a great opportunity to tie conversions and math concepts into Tuff-Bot lessons.
The other programming buttons on the robot.
Next, we have the turn buttons. Students can use these in programs to, you guessed it, get the Tuff-Bot to rotate and change direction. Each turn command tells the Tuff-Bot to rotate one-eighth the amount of a full turn. Essentially, this means putting four turn commands together will get their robot to make a 180-degree turn. Finally, students can also use the pause command at any point in their programs. When their Tuff-Bot detects this command, it briefly pauses its movements for a half second and then continues.
Once they build their program with all the commands they'd like, children can run it simply by pressing the go button. This is the round button that says 'Go' and is directly in the middle of the directional buttons on the top of the Tuff-Bot. Once kids start running a program, it will run all the way through until it's complete. After running all the way through the program, the Tuff-Bot will play a sound to signify the end—just like the Bee-Bot does. Students can then press the X button to clear that program (it will not save) and create their next one. They can also hit the go button while their program is running to stop the sequence.
More advanced Tuff-Bot features.
As you can tell, these basic coding features are pretty similar to using the Bee-Bot or Blue-Bot. With older kids, however, the Tuff-Bot can help enable more advanced opportunities to explore computer science. For example, the round button in the middle of the robot towards its left side is the avoidance button. Pressing this button allows students to put their Tuff-Bot in avoidance mode. When in avoidance mode, the Tuff-Bot will back up when it detects any obstacle in its path and try to find an alternate route—whether that's on a smooth surface or traversing an outdoor environment. Students could also turn avoidance mode off simply by pressing the same button once more. It even has a light sensor on the front for automatically activating its headlights when entering a dark enough environment.

The other round button directly across from that one is the speed button. Students can use this button for switching the Tuff-Bot into one of three speed modes while it's running a program. In Mode 1, the Tuff-Bot will move more slowly and pause briefly between each sequence of their programs. This is great when first getting started but, once students design longer programs, it could take longer to complete. In Mode 2, the robot won't pause between each sequence when it's traveling in a straight line. In Mode 3, it continues not to pause between commands when moving in a straight line, but its turns are faster and more crisp—even on bumpy surfaces. Naturally, Mode 1 is perfect for those who are new to the Tuff-bot, Mode 2 is ideal for intermediate students, and Mode 3 is for those who are more advanced.
Charging the Tuff-Bot and coding with the app.
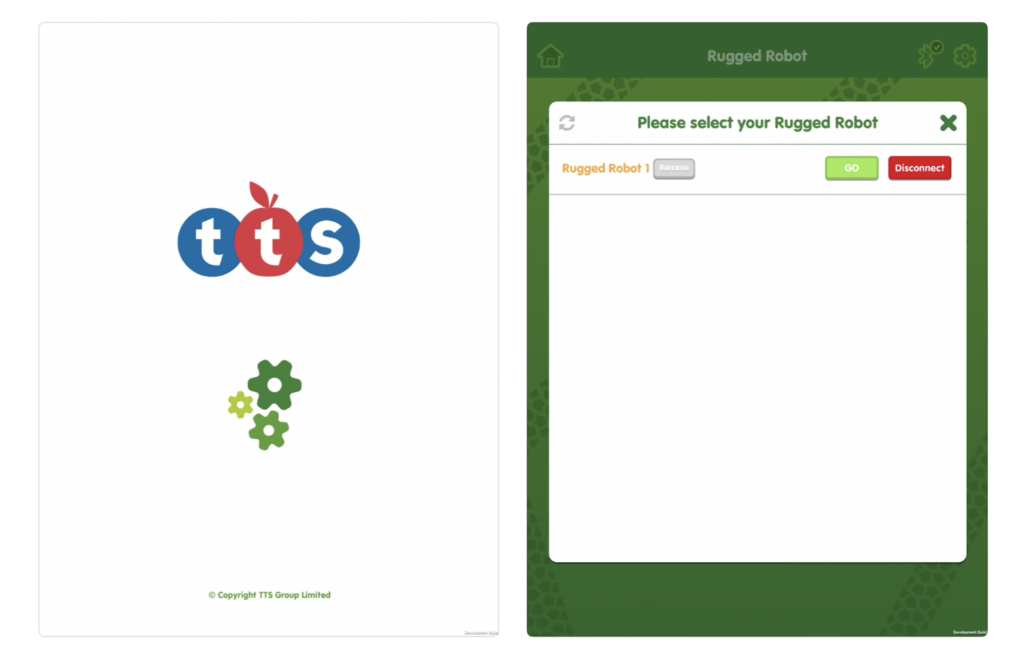
Before beginning STEM lessons with the Tuff-Bot, educators should, of course, be sure all their robots are fully charged. Unfortunately, students cannot use the Tuff-Bot while it is charging but it shouldn't take more than two hours to fully charge. To charge the Tuff-Bot, you can connect the USB cable to any power source and insert the other end (the DC jack) into the Tuff-Bot's on-board charging socket. Once it's charged fully, the Tuff-Bot will run for up to two hours. Also, since it's Bluetooth-enabled, students can program the Tuff-Bot with the Rugged Robot app. This app is available on both Android and iOS devices (iPads only) and it unlocks new coding opportunities once students master screen-free programming.
When looking for the Tuff-Bot app, be sure to search for 'Rugged Robot' in your app store rather than 'Tuff-Bot.' To use the Rugged Robot app, Android devices need Android 5.0 or higher and iOS users need to be running iOS 8 or higher. Also, it's available only on tablets and not laptops or PCs. With the Rugged Robot app, students can write algorithms and send them to the Tuff-Bot to execute. They can start with the same directional commands before moving on to detailed coding and debugging. Also, its digital interface is very similar to the tactile coding they likely started with, which helps create smooth transitions.
Creating programs with the Rugged Robot app.
The Rugged Robot environment features a drag-and-drop coding interface, making it easy for students to write programs. They can program the 45-degree turns, pauses, toggle obstacle avoidance on and off, and control the Tuff-Bot's three speeds, too. Plus, they can also record themselves using its See & Say feature, saying commands and assigning them to specific buttons using the app. When their program reaches that point, they'll hear themselves giving the Tuff-Bot instructions! This app certainly adds a new dimension to coding with the Tuff-Bot and students can keep using it in almost any environment.

Besides the mobile app, students could also program the Tuff-Bot with the Terrapin TacTile Reader. This device is also compatible with the Bee-Bot and Blue-Bot and helps students connect key coding inputs to tangible outputs. It's available separately from the Tuff-Bot and comes with 25 command blocks (left, right, forward, backward, and pause). Students can place up to 10 tiles in the reader and, after pairing it with the Tuff-Bot, they can press the go button to have the Tuff-Bot run the program they've built with the tiles. This adds some extra versatility to Tuff-Bot lessons and helps students continue developing computer science competencies as well.
Explore the Tuff-Bot and other Terrapin STEM resources.
As you can tell, there's so much that students can do with the Tuff-Bot—even in the upper elementary and middle school grades. To learn more about teaching with the Tuff-Bot, watch the replay of the webinar we hosted with the Terrapin team. There's super helpful information in there on incorporating the Tuff-Bot in to upcoming classroom robotics lessons. As always, if you have any questions about the Tuff-Bot, any other Terrapin robotics solutions, or additional classroom STEAM tools we offer, please reach out to our team at anytime. We can help provide product insights, accessory recommendations, or get you a quote. Follow us on Twitter and Instagram for more.


